Create a naturalistic water reflection effect with new
Photoshop Cs6 elements. This will work in almost all the versions of Photoshop.
For this effect image size is important.
This takes a pretty much time for the user to do it. You can use any of your
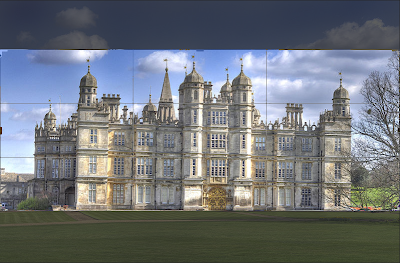
photos for this effect, and I’ll be using the Burghley house. Ok so let’s get
started.
1st Step : Open up the image.
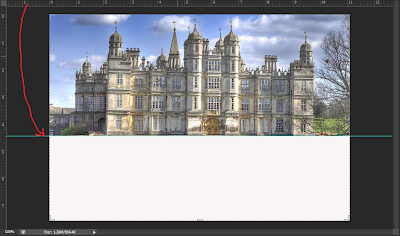
7th Step : Grab the ruler and place it in the
middle of the image and press Enter.
8th Step : Select the Rectangular marquee tool
from the tool bar or simply press M.
9th Step : Now make a selection of the image not
the white background.
10th Step : Again go to Layer/ New/ Layer via
copy.
12th Step : Now press Ctrl + t, and drag the
selection to the middle of the white background.
13th Step : After that Drag the layer 2 copy
between layer 2 and layer 1 and name it Reflection.
14th Step : Name the top Layer as your wish.
16th Step : Click on Reflection layer and press Ctrl
+ J.
17th Step : While you have clicked the Reflection
copy layer, go to Filter/ Blur/ Motion Blur.
18th Step : Make the angle 90 degrees and
distance 35.
19th Step : Merge the two layers , Reflection and
Reflection copy by Ctrl + click on both Layers , right click Merge visible.
After you have merged you will have only the Background left.
20th Step : Again create a new layer by going
Layer/ New/ Layer via copy.
.
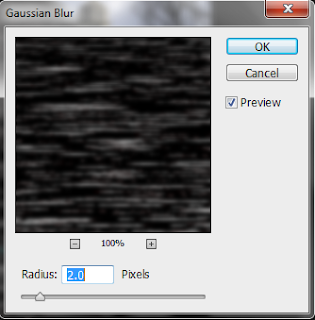
27th Step : Now go to Filter/ Blur/ Motion Blur.
31st Step : Now grab the Zoom tool from the tool
, or else simply press Z.
32nd Step
: Now right click and Zoom out.
33rd Step : Press ctrl + t and go to Edit /
Transform / Perspective.
39th Step : Change the blend mode to soft light
and opacity 35%.
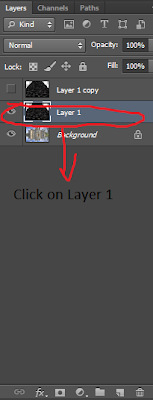
40th Step : Make the layer 1 copy visible and
click on it.
41st Step : Press Ctrl + i. You should get a
picture like this.
44th Step : Now grab the Blur tool from the tool
bar.
45th Step : Make sure the Hardness is 0 and strength
is 100 and start coloring over the bottom of the water reflection. Do this for
both Layer 1 and Layer 1 copy.
46th Step : Click on Layer 1 copy and press Ctrl
+ shift + alt + e.
It should bring a new layer.
47th Step : Take the Gradient tool from the tool
bar.
52nd Step : Finally merge all the layers to get a
final layer. For doing that Ctrl + clicking on the all the layers, right click
merge visible.
53rd Step : Now you’re done, you can save your
image. If you have any doubts leave it in the comment bar J.


No comments:
Post a Comment